Autopilot Faults and Calibration: A Guide to Reliable Course-Holding
Holding the helm by hand for hours on a long passage is tiring; the autopilot takes that load off you. A correctly calibrated autopilot is not just more comfortable — it's safer.
An autopilot removes the fatigue of holding the helm by hand for hours on a long passage — but it only earns trust when it's set up correctly. An autopilot that wanders off course, jerks the helm, or occasionally throws a "drive fault" alarm is usually not broken; it's usually miscalibrated. This guide covers the components of an autopilot system, the correct calibration steps, and the causes behind the faults we see most.
How does an autopilot system work?
A modern yacht autopilot depends on several components working together:
- Course computer: The central unit that processes compass, rudder reference and GPS data and sends commands to the drive.
- Fluxgate compass or heading sensor: Measures the boat's instantaneous heading; today's systems often use a digital sensor backed by a gyro.
- Rudder reference: Reports the rudder's physical angle to the course computer — without this feedback the autopilot has no idea how far the rudder has actually moved.
- Drive unit: A hydraulic pump, electric motor or linear actuator that turns the course computer's command into physical rudder movement.
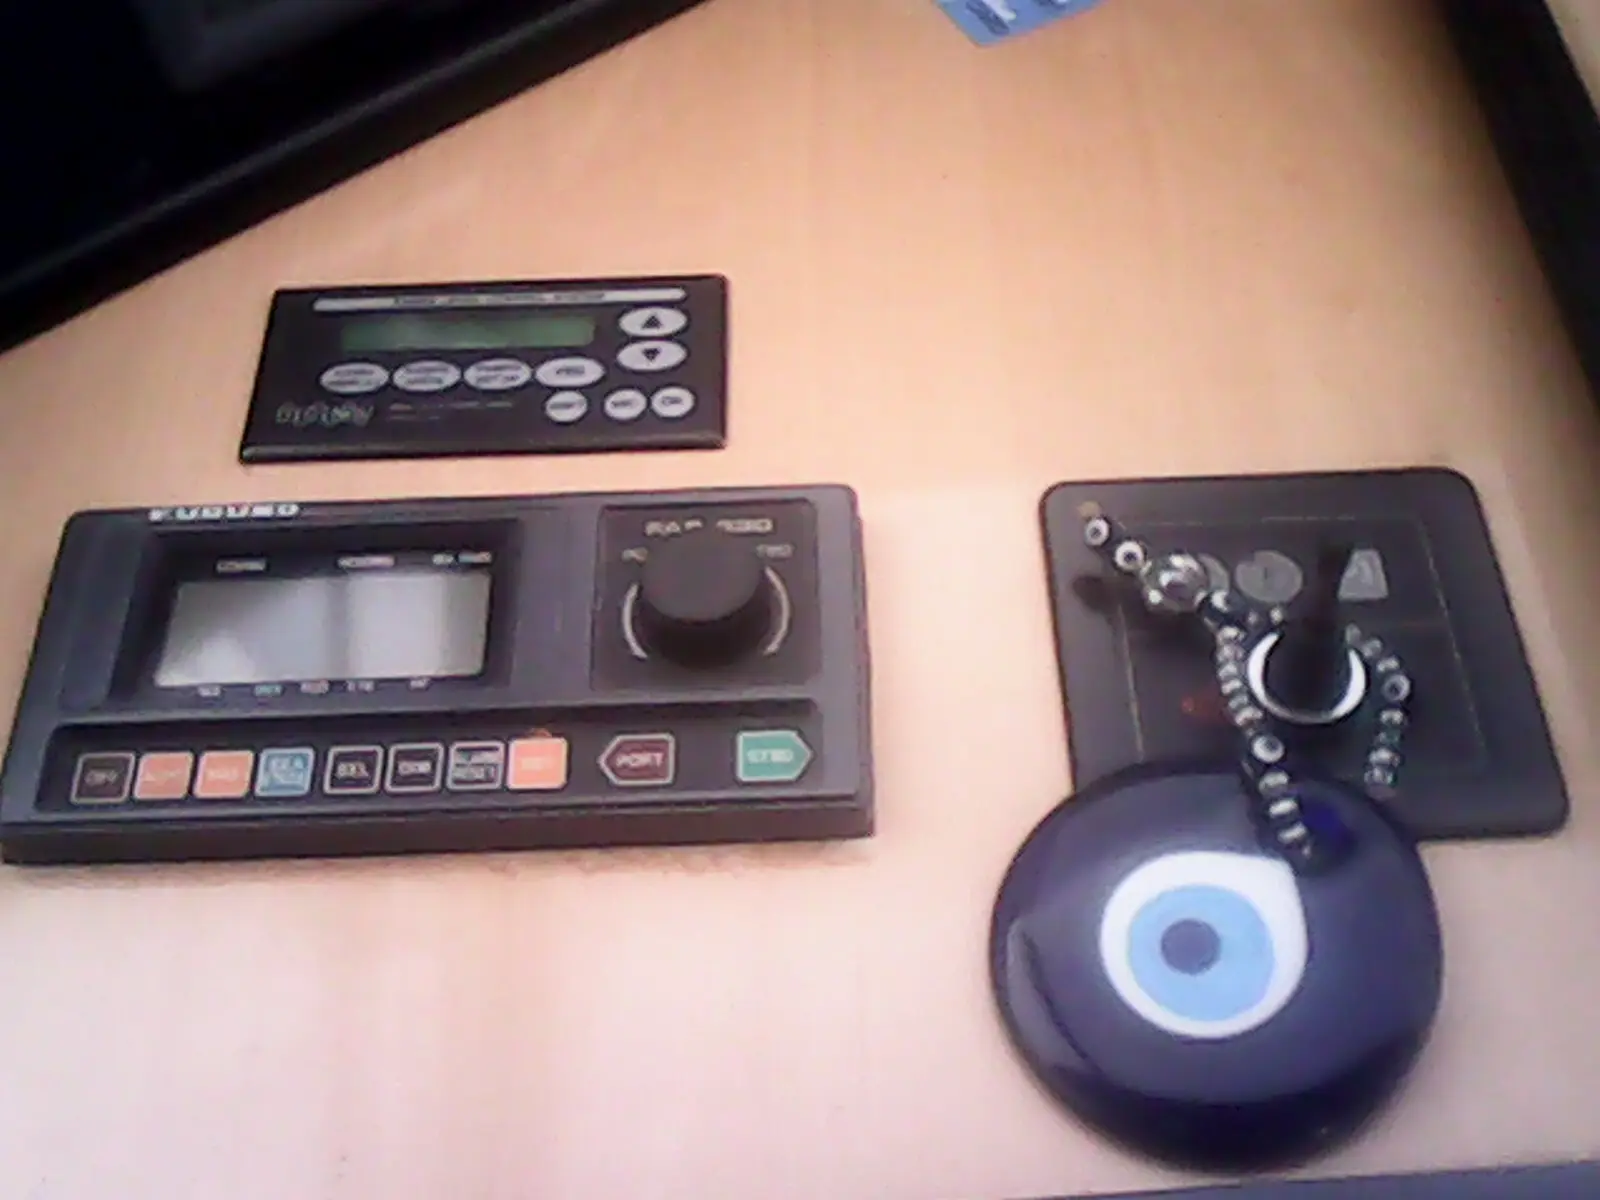
- Control head and remote: The interface for entering heading, mode (heading/route/wind-vane tracking) and turn commands.
On hydraulic steering systems the autopilot works through a pump integrated into the existing hydraulic circuit; these installations usually fall under hydraulic systems. Electromechanical systems instead use a linear actuator or gearbox connected directly to the rudder shaft.
Calibration steps
Any newly installed autopilot, or one with a replaced component, must be calibrated. The general flow:
- Zero the rudder reference: With the rudder centred, set the sensor's zero point, then move it to both extremes to record the limits.
- Verify steering direction: Confirm that a "starboard" command from the control head actually turns the rudder to starboard; if reversed, swap the polarity.
- Compass deviation calibration: Slowly turn the boat through 360° in calm water so the compass is calibrated against the vessel's own magnetic field. This is usually done with an automatic "turn calibration" routine.
- Rudder gain setting: Determines how hard or gently the autopilot responds to the rudder; start low and increase gradually.
- Sea trial: Test course-holding at different speeds, turn radius and response to wind; fine-tune gain and counter-rudder settings as needed.
These steps may take several sea trials depending on the boat's character; doing the first calibration in calm weather and open water matters for both safety and accuracy. Every setting made during calibration is stored in the system's memory, so noting the old values before a course computer swap gives you a working starting point on the new unit.
Common faults
| Symptom | Likely cause |
|---|---|
| Autopilot can't hold course, keeps correcting | Wrong rudder gain, missing deviation calibration, over-compensating for current/wind |
| "No pilot" or "drive fault" alarm | Drive unit's supply fuse blown, motor tripped an overcurrent protector |
| No command reaching the drive from the control head | Data loss or address conflict on the NMEA 2000 network |
| Heading data freezes or jumps | Magnetic interference near the compass, loose connector |
| Helm moves suddenly and hard | Rudder gain too high, or rudder reference limits recorded incorrectly |
Most network-related faults trace back to not following the NMEA 2000 network's terminator, power and cabling rules. Making sure the course computer picks the correct compass or GPS source avoids conflicts between multiple sources on the network.
A systematic approach to fault-finding saves time: first check the course computer's supply voltage and fuse, then confirm whether the drive unit moves in its independent test mode (where available). If the unit moves independently but ignores commands from the control head, the problem is most likely in the data line; if it doesn't move at all, focus on the power or motor/pump side. This distinction avoids needlessly pulling a component that's actually working fine.
Working with other navigation instruments
An autopilot shouldn't be considered in isolation — it's part of a system. While following a GPS route it takes waypoint data from the chartplotter; we cover that integration in our chartplotter and MFD selection guide. Seeing AIS targets in busy traffic makes maintaining a proper lookout easier while the autopilot holds course automatically; see our AIS Class A and Class B guide.
Using autopilot alongside radar is also common: on long passages the autopilot holds the route while radar provides situational awareness in fog or at night. We cover this integration in our radar installation and usage tips. Manufacturer ecosystems such as Raymarine's autopilot range bundle the heading sensor, course computer and drive unit together, simplifying calibration and fault-finding; in mixed installations combining components from different brands, it's worth checking in advance which NMEA 2000 messages each device supports.
Maintenance recommendations
- Periodically check drive unit connection points and hydraulic hose fittings for leaks.
- Don't add a new electrical device or speaker near the fluxgate compass; if you must, follow the manufacturer's minimum-distance guidance.
- Regularly check for play in the rudder reference sensor's mechanical linkage; excess play throws off calibration.
- Keep up with software updates — manufacturers release algorithm improvements over time.
- Before winterizing, centre the drive unit and disconnect its power supply.
Hydraulic drive units also depend on oil condition: cloudy or foamy hydraulic fluid can make the pump respond sluggishly to commands. In electromechanical linear actuators, gear wear over time creates a vague lag in helm response; this wear is often masked temporarily by increasing rudder gain, but the real fix is replacing the actuator.
Winterizing and spring commissioning
Disconnecting power to the autopilot brain and drive unit at season's end prevents issues from moisture and voltage fluctuations. The control head's keypad and connectors should be rinsed free of salt and kept dry. We cover winterizing the boat's overall electrical system in detail in our winterizing guide.
At season opening, the autopilot needs its own check: confirm the drive unit moves freely, the rudder reference is at the correct zero point, and compass calibration wasn't disturbed by a metal-heavy haul-out job over winter. If a significant metal item was added (a new generator, steel deck equipment), repeat the deviation calibration. See our general season opening checklist for the broader electrical checks.
Work with Aslan Yacht on autopilot calibration
Our team in Turgutreis carries out autopilot installation, calibration and fault diagnosis on site across marinas around Bodrum, for both hydraulic and electromechanical steering systems. See our electronics and navigation services or get in touch to book a calibration appointment.
Frequently asked questions
How often does autopilot calibration need to be repeated?
Check calibration whenever you notice compass deviation, after adding or removing a large metal item, after changing the rudder drive, or as part of annual maintenance. A well-installed system otherwise runs fine on the same calibration for years.
The autopilot moves the helm abruptly and hard — why?
Rudder gain is usually set too high. Reduce it gradually in calm conditions until you find a response that suits the boat's character.
The autopilot holds a GPS route but the compass heading is erratic — what's wrong?
There may be a variable magnetic field near the fluxgate compass (a speaker, a steel object, an electric motor switching on and off). Check the compass's location and the metal items around it.