Yacht Interior LED and Ambient Lighting: A Practical Design Guide
Choosing LEDs for the saloon, cabins and passageways: colour temperature, dimming, voltage drop and VHF interference explained for owners and captains.
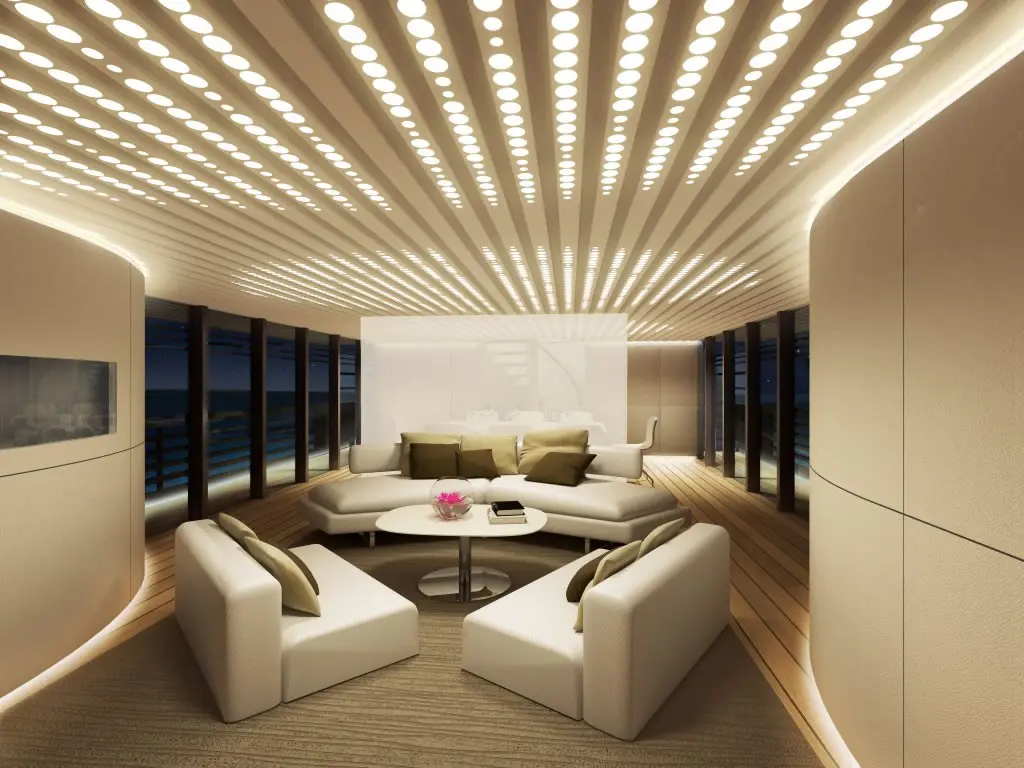
Yacht interior LED lighting shapes both the comfort on board and the energy balance of the boat. Well-designed ambient lighting turns the saloon into a calm, warm space in the evening without draining the battery bank; a poorly designed system comes back to you as flickering strips, yellowing colours and hiss on the VHF.
In this article we cover the rules that actually work in the field, from choosing LEDs for the saloon, cabins, passageways and wheelhouse to wiring and control architecture.
Why LED? The energy and heat side
A 3–4 W LED spotlight replacing a classic 20 W halogen delivers similar light output at roughly one fifth of the consumption. On a yacht with twelve spots in the saloon, that difference amounts to close to 20 A on a 12 V system. Over an evening at anchor, it adds up to tens of Ah saved. To work out your own figures, see our guide to calculating daily energy consumption on board.
The second advantage is heat. Halogen spots gradually darken headlining and timber panels; an LED sends its heat backwards into the heatsink rather than forwards. LEDs are still sensitive to heat, though: as junction temperature rises, light output falls and colour shifts. LED strips must therefore be bonded to an aluminium profile, and spotlights mounted in voids with some air circulation.
Colour temperature, CRI and choosing by area
The most common interior mistake is putting the same cool white everywhere. Light should follow the function of the space.
| Area | Recommended lighting | Colour temperature | Note |
|---|---|---|---|
| Saloon | Concealed strip + dimmable spots | 2700–3000 K | CRI ≥ 90, two-level scenes |
| Cabins | Reading lights + ceiling strip | 2700–3000 K | Separate switch at the bedside |
| Galley | Under-cabinet strip | 3500–4000 K | Layout without shadows |
| Heads | Moisture-protected spots | 3000–4000 K | At least IP65 |
| Passageways and stairs | Step / skirting LEDs | 2700 K or red | Low level for night mode |
| Wheelhouse | Red night lighting | Red (≈ 620–630 nm) | Preserves night vision |
CRI (colour rendering index) is critical for timber and fabric to look natural. Cheap strips below CRI 80 make teak and walnut look grey and dull. In premium interiors, aim for CRI 90 or above.
In the wheelhouse the priority is night vision, not aesthetics. White light under way destroys dark adaptation; red, dimmable lighting keeps charts and gauges readable. Outside, the rules are entirely different; we cover them in detail in our article on COLREG navigation lights and LED conversion.
Constant voltage, constant current and choosing dimmers
Battery voltage is not constant
On a 12 V yacht, "12 V" really means a voltage wandering between 11.8 V and 14.4 V. During charging, absorption voltage reaches 14.4 V on lead-acid batteries and 14.2–14.4 V on LiFePO4. Cheap strips without an internal current regulator draw excess current at that voltage, run hot and soon change colour. There are two solutions:
- Use LED spots and strips with a wide 10–30 V input range and built-in constant-current drivers.
- Feed the lighting circuit from an isolated DC-DC converter with a stable 12 V or 24 V output.
PWM dimming and flicker
LEDs are dimmed with PWM (pulse-width modulation). Low-frequency PWM is visible as flicker, especially through a phone camera or in peripheral vision. Good dimmers run at several kHz. The dimmer and the driver must also be compatible: dimming a spot with its own constant-current driver through a generic PWM dimmer does not always give a smooth result.
VHF and AIS interference
Low-quality LED drivers and switching dimmers can generate electromagnetic noise, particularly in the VHF band. If reception hiss rises or AIS targets drop out when the lights are on, find the source by switching lighting circuits off one at a time. Good EMC-compliant drivers, short twisted supply leads and cable runs kept away from antenna cables solve most cases.
Wiring: voltage drop and safety
Because interior lighting draws little current, its wiring is often underestimated. Yet a 5 m LED strip can draw 4–6 A at 12 V, and a long run causes significant voltage drop. The result: the start of the strip is bright, the end is dim and the colour tone differs.
These are the basic rules we apply on board:
- Calculate the cable size. A 3% voltage-drop target is a good reference for lighting circuits. See our article on marine cable selection and voltage-drop calculation for the method.
- Feed long strips from both ends. Supplying strip runs longer than 5 m from both ends or from the middle removes brightness differences.
- Use tinned-copper marine cable. Fine-stranded tinned cable and insulated crimp terminals resist corrosion; solid-core domestic cable has no place on a boat.
- Fuse every circuit separately. The fuse protects the cable and is sized to the conductor. That is the approach of ABYC E-11 and ISO 13297/ISO 10133.
- Respect IP ratings in damp areas. IP20 may be enough in a dry cabin ceiling, but heads, showers and areas under the cockpit need at least IP65. What the IP code means is explained on the IEC's IP ratings page.
- Keep connections accessible. Mount drivers and dimmers where they can be reached without removing headlining panels.
For the wider framework of wiring standards, ABYC publications are the most widely used reference.
Control architecture: switches, scenes and digital systems
On a small sailing yacht a handful of switches is enough. A motor yacht over 20 metres, however, has dozens of lighting circuits for the saloon, cabins, passageways and deck. Scene logic makes life easier here: settings such as "dinner", "night passage" or "welcome guests" recalled with one button.
There are two common routes to scene control:
- Stand-alone LED controllers: RGBW or tunable-white controllers for the saloon, operated from a wall panel or remote.
- Digital switching systems: all lighting is managed from displays together with pumps and other loads. We describe this approach in our article on smart yacht automation and digital switching.
Whichever route you take, the system must not leave you in the dark after a fault. We recommend that at least one lighting circuit in the passageway, on the stairs and at the engine-room entrance can still be operated directly from a conventional switch.
Refit checklist
- List of existing halogen and fluorescent fittings with their wattages
- LED compatibility of the dimmers
- Lighting fuses matched to cable sizes
- IP rating of fittings in damp areas
- Accessibility of driver and transformer locations
- Red night lighting for the wheelhouse
- VHF and AIS interference test (lights on/off)
Integration with exterior and underwater lighting
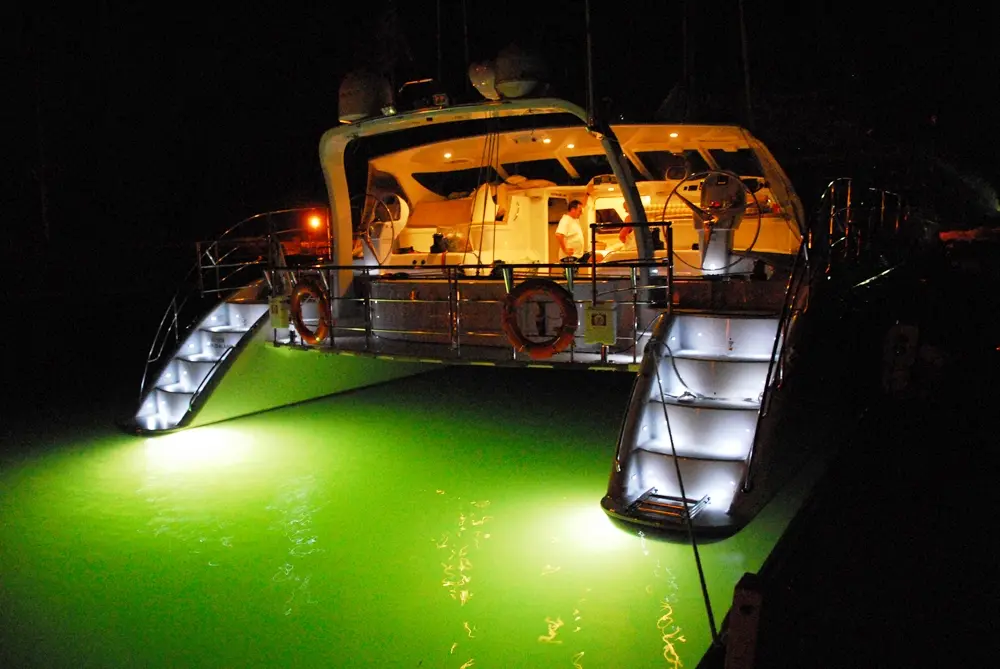
Interior lighting works best when it is planned together with the exterior. Warm white in the cockpit and on the flybridge should match the saloon; otherwise you see a hard colour step every time the door opens. For choosing and fitting underwater lights see our underwater LED lighting guide, and for navigation-light solutions visit our Lopolight brand page.
Work with Aslan Yacht on interior lighting
From our workshop in Turgutreis to the marinas around the Bodrum peninsula, we design yacht interior lighting, convert old halogen systems to LED and renew wiring in line with marine standards. Find out more about our yacht lighting service, or get in touch to arrange a survey of your yacht.
Frequently asked questions
Can I swap halogen spotlights directly for LEDs?
In most cases yes, provided the LED lamp has a wide 10–30 V DC input range and is compatible with the existing dimmer. Old halogen dimmers often make LEDs flicker, in which case they should be replaced with a PWM dimmer.
What colour temperature suits a yacht saloon?
Warm white at 2700–3000 K works well in the saloon and cabins, and neutral white at 3500–4000 K in the galley and work areas. Choose products with a CRI of 90 or higher for natural colour rendering.
Why do LED strips change colour or dim over time?
The usual causes are poor heat dissipation (no aluminium profile), overvoltage and low-grade LED chips. Battery voltage rising to 14.4 V during charging shortens the life of strips without an on-board regulator.